Installing bathroom plumbing requires a precise assessment of existing supply and drainage, followed by careful planning of pipe routes and fixture locations. The process emphasizes correct sizing, material compatibility, and secure connections, with attention to codes and venting. A methodical sequence—tools ready, joints assembled, pressure tested, and joints sealed—must be documented for future maintenance. The approach sets up predictable outcomes, but unseen variables may arise, prompting further considerations as the system is expanded or updated.
Assess Your Bathroom Plumbing Needs
Assessing bathroom plumbing needs involves a systematic inventory of current fixtures, supply lines, and drainage paths. The evaluation identifies compatibility requirements, potential upgrades, and anticipated performance. Documentation guides planning budget decisions and scheduling. Consider bearing load, water pressure, and fixture lifespans. The assessment informs selecting materials and configurations, ensuring future accessibility, reliability, and ease of maintenance, while preserving architectural intent and water efficiency goals.
Gather Tools, Materials, and Safety Measures
Gathering the necessary tools, materials, and safety measures follows the preliminary assessment by outlining the exact equipment, components, and precautions required for the bathroom plumbing project. The inventory emphasizes orderliness in selection, precise specifications, and standardized parts, with budgeting considerations to prevent overspend. Safety protocols, PPE, tool maintenance, and clear handling procedures anchor disciplined execution and minimize risk.
Install Pipes, Fixtures, and Connections
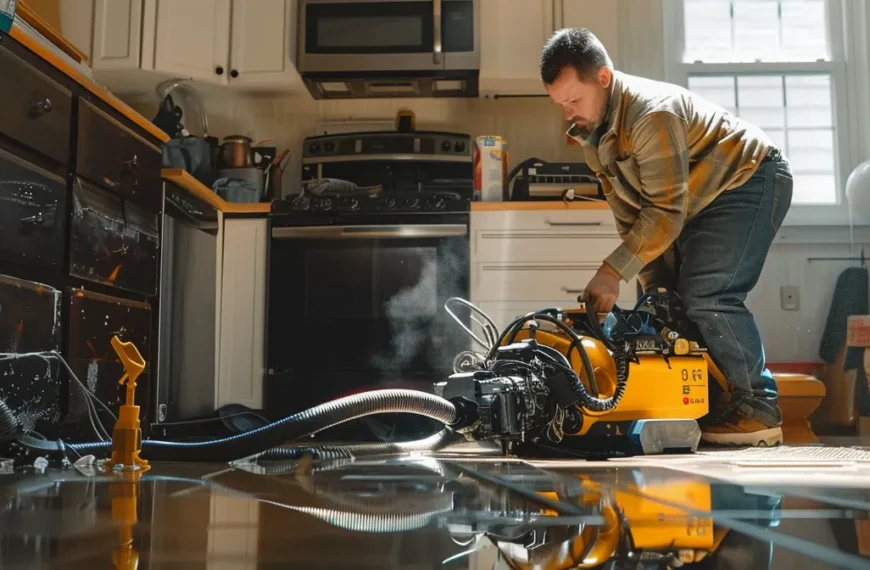
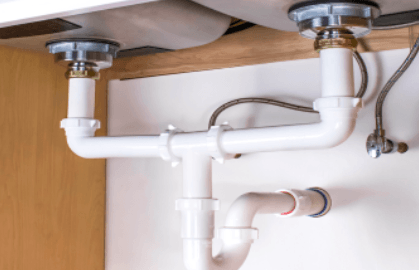
Careful sequencing and exact alignment are required when placing piping and securing fixtures. Install pipes, fittings, and connections with disciplined accuracy, verifying trench, wall, and ceiling routes before concealment. Document joints and valve orientations, avoiding misleading terminology and ensuring compatibility with current designs. Avoid outdated codes; reference authoritative standards, maintain uniform method, and test tightness incrementally to prevent later leaks or impairment of fixtures.
Test, Seal, and Troubleshoot for Leaks
To ensure system integrity, the section details systematic testing, sealing, and leak troubleshooting procedures after installation. Leak testing evaluates joints, valves, and connections under pressure, recording results objectively. Seal integrity is verified by inspecting gasket seats and sealants for uniform coverage and cure status. Troubleshooting addresses abnormal drips, flow loss, or pressure fluctuations with documented corrective steps.
See also: puzutask
Conclusion
A well-executed installation follows a disciplined sequence, confirming compatibility, precise alignment, and secure connections before system testing. By documenting valve orientations, joint types, and test results, the project remains traceable and reproducible. Any faults should be addressed promptly, ensuring leaks are eliminated and performance meets design specifications. In practice, staying within code guidelines and maintaining meticulous records keeps the job on track, and results in a smooth, trouble-free operation for years to come. It’s not rocket science.

 By
By
 By
By